Installing SAP NetWeaver 7.4
SAP NetWeaver 7.4 is the newest release of SAP NetWeaver 7.3. This latest version runs on all database platforms supported by SAP NetWeaver and is also optimized for SAP HANA. NetWeaver 7.4. also includes new and updated features for the Application Server ABAP, connectivity, UI technologies, SAP Business Warehouse and security. In addition, SAP NetWeaver 7.4 Java-based hub solutions can run on SAP HANA. In this post, we describe how to install SAP NetWeaver 7.4 Application Server Java on Windows Server 2008 R2, together with Microsoft SQL Server. However, you can apply these or similar steps to Application Server ABAP as well as different operating systems and databases servers.
Preparing for SAP NetWeaver 7.4 installation on Windows Server 2008 R2
- Download and read the release-specific Master Guide at the appropriate download location under http://service.sap.com/instguides.
- Identify the use case and download the software packages mapped to the use case at http://service.sap.com/swdc.
- Copy the downloaded media to a local directory on the installation server file system.
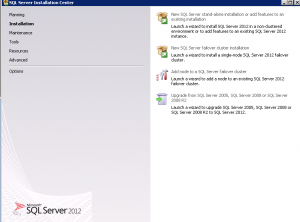
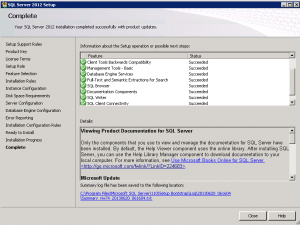
Installing MS SQL Server
- In the command prompt, navigate to the folder 51046000 \x86-x64\EnterpriseEdition on the MS SQL installation DVD. Execute the setup.exe file to start installing MS SQL.
- Proceed with the installation following the guided instructions and set the parameters as stated in the installation guide.

Installing SAP NetWeaver 7.4 Application Server Java
- After choosing your installation scenario according to the Master Guide (available under http://service.sap.com/instguides), download the latest version of Software Provisioning Manager and the SAPCAR archiving tool from http://service.sap.com/swdc.
- Decompress Software Provisioning Manager using SAPCAR with this command: SAPCAR –xvf <path>\<download directory>\<Archive>.SAR in a directory on the Windows server.
- Move the installation media that you downloaded during preparation to the installation host. You can identify all objects as belonging to an installation medium by looking at their material number. (Note that all objects that are part of an installation medium have the same material number plus an individual sequence number.)
- Start the installer by double-clicking sapinst.exe in the directory where you unpacked Software Provisioning Manager.
- On the welcome screen, navigate to Installation -> MSSQL Database -> Preparations and choose Prerequisites Check.
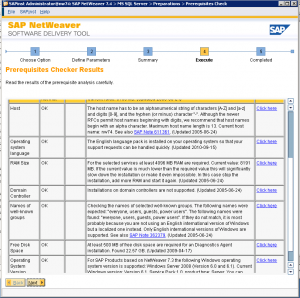
- After the check is complete, proceed with the installation of SAP system based on SAP NetWeaver Application Server Java.
- Restart the installer and navigate to SAP Product->MSSQL DATABASE->SAP Systems Application Server Java and select standard system. Double-click the sapinst.exe file to start the installation screen for SAP NetWeaver Application Server Java. On the installation screen, select the components that belong to your installation scenario and click Next.
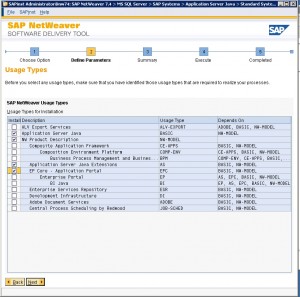
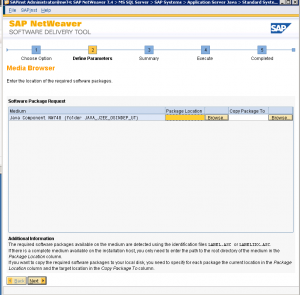
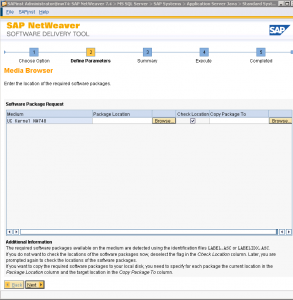
- Enter the location of the installation packages in your local directory and click Next.
- Define a unique SAPSID for the server instance, go to the next screen and register the diagnostic agent user. Click Next to go to the summary screen.
- Verify and confirm your selections before executing the installation.
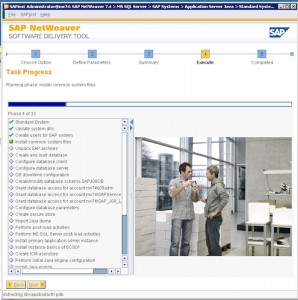
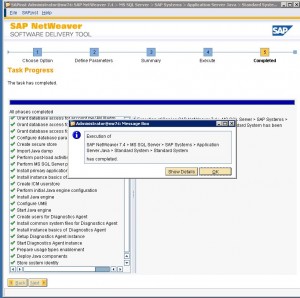
- You can monitor the installation process until it is complete.
We’d like to read your thoughts. Please leave a comment below.
For more information please contact us at:
1 Comment


good one